Hardwire EV Charger Install: The 2026 Homeowner's Guide
June 17, 2026 14 min read
Why hardwiring beats a NEMA 14-50 in 2026 — NEC code, the 80% rule, real costs, step-by-step install, and when to call a licensed electrician.
If you are researching a hardwire EV charger install, you likely want the fastest, safest, and most permanent solution for your home. The decision between hardwiring and using a plug-in outlet is one of the first and most important choices you will make, and it affects everything from charging speed to long-term reliability. This guide walks through every major consideration: the technical requirements, the step-by-step process, the real costs, and the code rules that govern a safe installation. By the end, you will know whether hardwiring is right for your situation and exactly what the job demands.
Hardwire vs. Plug-In: Why Hardwiring Wins in 2026
The debate between hardwiring and installing a NEMA 14-50 outlet has been running for years, but the advantages of hardwiring have only grown clearer. The most immediate benefit is charging speed. A hardwired charger on a 60-amp circuit can deliver up to 48 amps of continuous power to your vehicle. A NEMA 14-50 outlet, by contrast, is limited to 40 amps under the same electrical code rules. For EVs with onboard chargers that can accept 48 amps, that difference translates to roughly 20 percent faster charging. Over months and years of overnight charging, that margin adds up.
Cost is another area where hardwiring often comes out ahead, and the reason surprises many homeowners. Current National Electrical Code requirements mandate that NEMA 14-50 outlets installed for EV charging must be protected by a GFCI breaker. These specialized breakers cost between $200 and $400 more than a standard double-pole breaker. Hardwired EV chargers have GFCI protection built into the unit itself, so you can use a standard breaker and avoid that surcharge entirely. When you factor in the cost of a quality industrial-grade receptacle, which can run $80 to $150 on its own, the hardwire route frequently ends up being the less expensive option despite looking more involved.
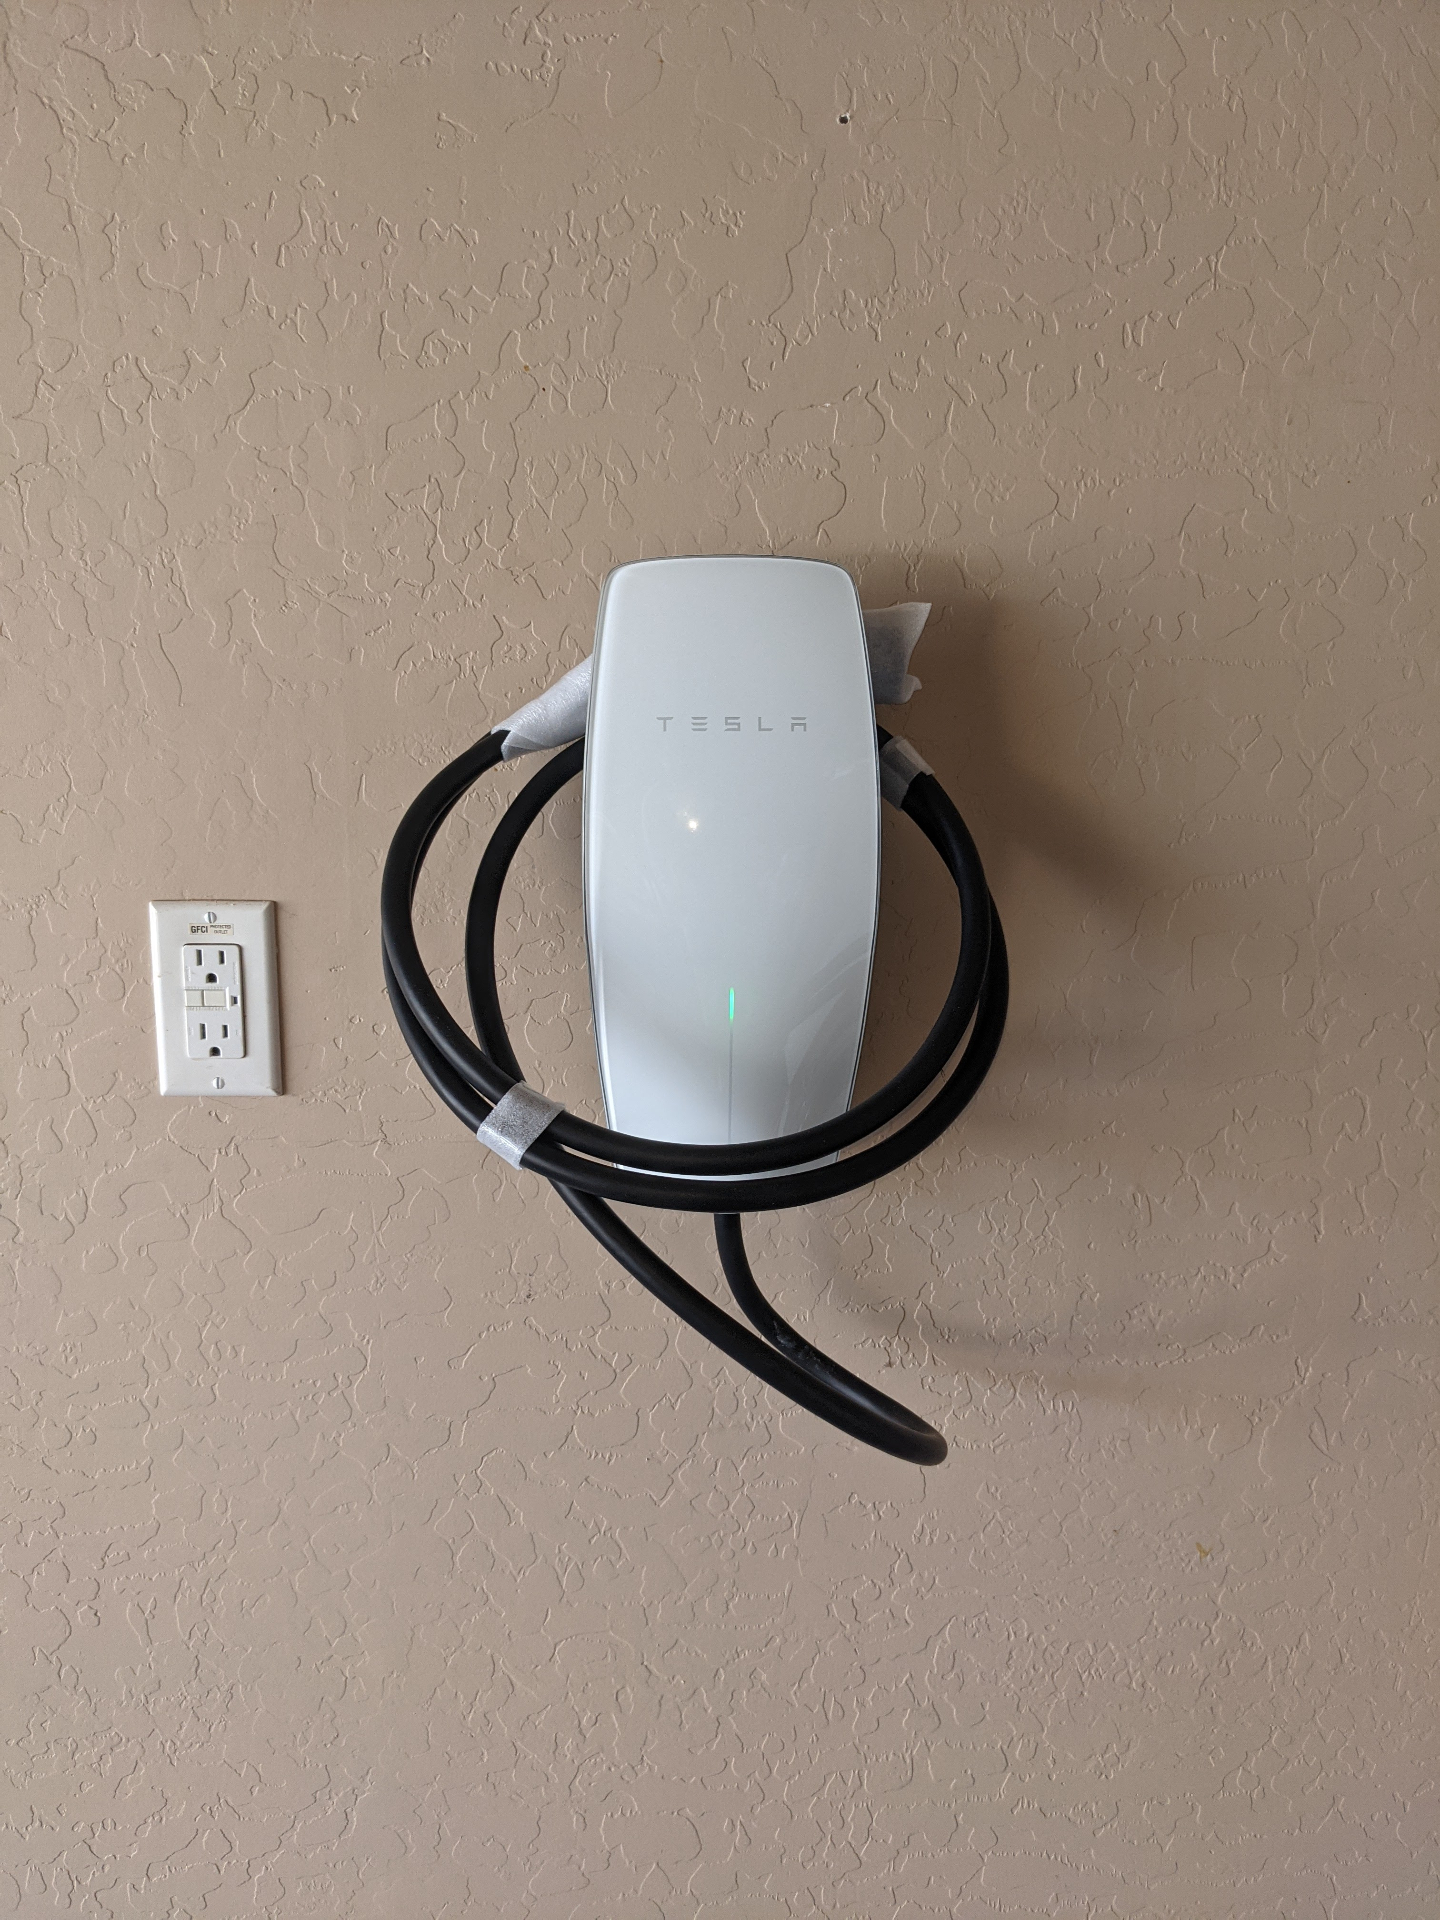
Safety and reliability tip the scales further. A plug and receptacle connection is a mechanical joint subject to wear, corrosion, and loosening over time. With a continuous 40-amp load running for hours, a slightly loose connection generates significant heat. There are well-documented cases of NEMA 14-50 outlets melting under the sustained load of EV charging, particularly when the outlet was a consumer-grade unit not rated for continuous use. Hardwiring eliminates that failure point entirely. The connection is direct, torqued to specification, and sealed inside the charger housing.
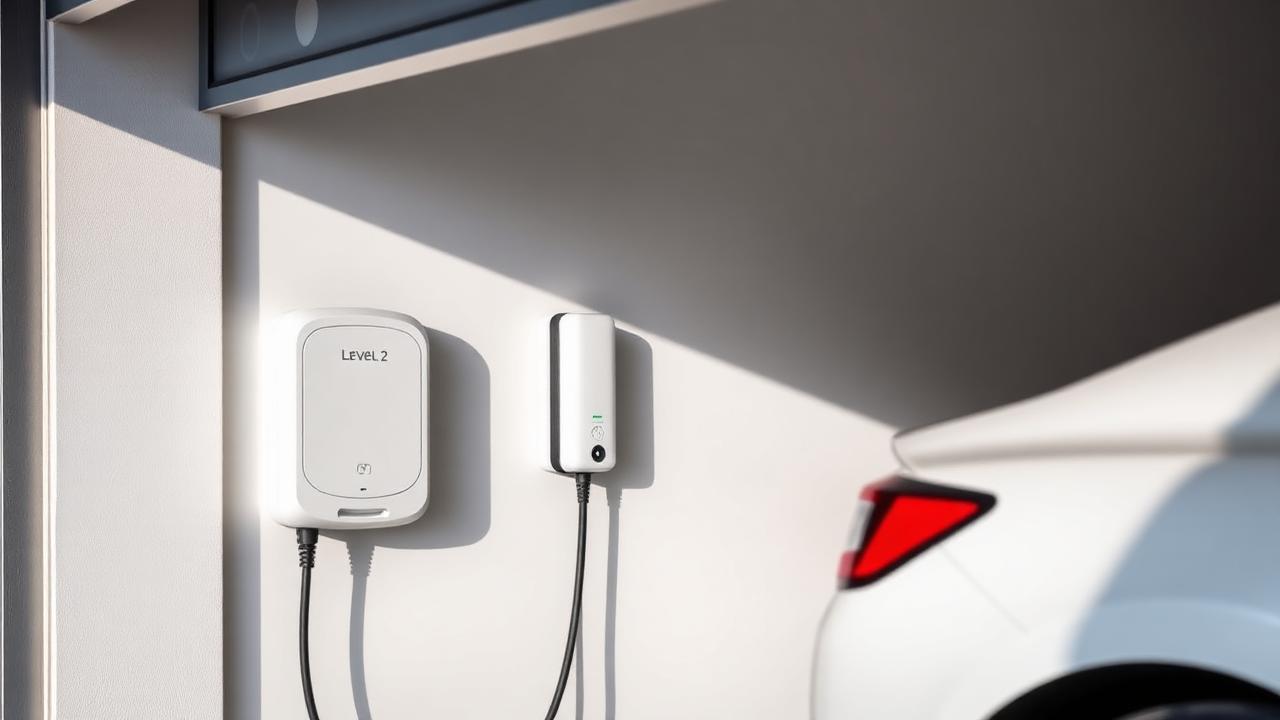
Aesthetics matter too, especially for a fixture you will interact with daily. A hardwired charger mounts flush or near-flush to the wall with only the charging cable emerging from the unit. There is no bulky outlet box, no plug body protruding several inches, and no excess cord coiled beneath. It looks intentional and permanent, which is exactly what most homeowners want for a device they plan to use for a decade or more.
NEC Code Requirements and the 80% Rule
Understanding the 80 percent rule is essential before you buy a single component. The National Electrical Code classifies EV charging as a continuous load, defined as any load expected to run for three hours or more. For continuous loads, the circuit must be sized so the load does not exceed 80 percent of the circuit's rated capacity. On a 60-amp breaker, that means a maximum continuous draw of 48 amps. On a 50-amp breaker, the limit is 40 amps. This rule is not a suggestion or a safety margin you can trim: it is code, and inspectors will check for it.
Wire sizing follows directly from this rule, and here many DIY guides get it wrong. For a 60-amp circuit, you need wire rated to carry 60 amps under the conditions of use. The common temptation is to reach for 6-gauge Romex, or NM-B cable, because it is familiar and easy to work with. The problem is that NM-B cable is rated only for the 60-degree Celsius column of the ampacity table, where 6-gauge copper maxes out at 55 amps. That is insufficient for a 60-amp circuit. The correct choice is 6-gauge THHN wire pulled through conduit, which falls under the 75-degree column and is rated for 65 amps. This distinction trips up even experienced DIYers and is one of the most common reasons installations fail inspection.
Conduit is not optional for a proper hardwire install. The standard for residential EV charger work is 3/4-inch liquid-tight flexible non-metallic conduit, often called liquid-tight or LFNC. It protects the conductors from moisture, UV exposure, and physical damage while remaining flexible enough for a DIY installer to route around obstacles without specialized bending tools. For exterior runs along a garage wall or outside a house, liquid-tight is the practical choice that satisfies code requirements for wet and damp locations.
Permits are required in nearly every US jurisdiction for a new 60-amp circuit. The permit process exists to protect you: an inspector will verify that your wire gauge, conduit, breaker, and connections meet code. Skipping the permit may save a small fee now but can create serious problems later, including insurance claim denials if an electrical fire occurs and complications when you sell the home. Check with your local building department before starting any work.
Step-by-Step Hardwire EV Charger Installation Process
1. Pre-Installation: Panel Assessment and Load Calculation
Before buying materials, open your main electrical panel and assess what you have. You need two adjacent slots for a double-pole 60-amp breaker. If your panel is full, you may need to install a sub-panel or use tandem breakers to free up space, though tandem breakers are not always allowed depending on your panel model and local code.
The load calculation is the step many homeowners skip and later regret. Adding a 48-amp continuous load to a house that already runs an electric oven, air conditioning, clothes dryer, and electric water heater can push a 200-amp service close to its limit. If your total calculated load exceeds 80 percent of your service rating, you will need either a load management device or a service upgrade. A practical workaround that works for many homes is installing the charger directly from an exterior main service panel rather than an interior sub-panel. This avoids long conduit runs through finished walls and often provides easier access to the full service capacity without disturbing living spaces.
2. Materials and Tools Checklist
For a typical 60-amp hardwire install, your materials list includes a 60-amp double-pole breaker compatible with your panel, 6-gauge THHN stranded copper wire in black, red, and green (a white neutral may be required by some charger models, so check the manual), 3/4-inch liquid-tight flexible non-metallic conduit, liquid-tight connectors sized for your conduit and the knockout holes on your panel and charger, conduit straps or clamps for wall mounting, and the EV charger unit itself with its included mounting bracket and hardware.
On the tool side, you will need a non-contact voltage tester, a multimeter, wire strippers rated for 6-gauge, fish tape for pulling wire through conduit, a drill with a hole saw or step bit for panel knockouts, screwdrivers, and a torque wrench. The torque wrench is not optional: breaker lugs and charger terminals have specified torque values, and under-torqued connections are a leading cause of overheating and failure. If your charger will be mounted in a location accessible to the public or to tenants, consider using anti-theft or security screws for the mounting bracket, a small detail that prevents tampering.
3. Running Conduit and Pulling Wire
Plan your conduit route before cutting anything. The goal is the shortest path with the fewest bends. Code limits a single conduit run to 360 degrees of total bend between pull points. If your route requires more than that, you must install a pull box or junction box at an intermediate point. For most residential garage installations, a straight run with one or two gentle sweeps is achievable.
Mount the conduit to the wall using the appropriate straps spaced every three to four feet. If the conduit enters the charger from below, form a drip loop, a small downward curve before the connector, so any water that runs down the conduit drips off before reaching the charger housing. This is a small detail that prevents moisture intrusion over the life of the installation.
Pulling 6-gauge THHN through liquid-tight conduit takes effort but is manageable with fish tape. Lubricant made for electrical wire pulling helps significantly and is available at any home center. Leave 12 to 18 inches of slack at both the panel end and the charger end. It is far easier to trim excess wire than to splice in an extension because you cut too short.
4. Wiring the Breaker and Charger
At the panel, with the main breaker off and verified dead with a voltage tester, connect the black and red wires to the terminals on the 60-amp double-pole breaker. Connect the green ground wire to the ground bus bar. If your charger requires a neutral, connect the white wire to the neutral bus bar. Many hardwired chargers do not need a neutral because they operate on 240 volts only and handle any internal 120-volt needs through an onboard transformer. Check your specific unit's installation manual to confirm.
At the charger end, strip the wire ends to the length specified by the manufacturer, typically between half an inch and three-quarters of an inch. Insert each conductor into its labeled terminal: L1 for one hot leg, L2 for the other, and the ground symbol for the equipment ground. Torque each terminal to the value printed in the manual or on the unit itself. Mount the charger onto its bracket, secure it, and double-check that no wire insulation is pinched and that the cover seats properly against the housing.
Cost Breakdown: What to Expect for a Hardwire Install in 2026
If you handle the work yourself and your panel has capacity, expect to spend between $300 and $600 on materials alone. The breaker runs $15 to $40, the wire $100 to $200 depending on run length, the conduit and fittings $50 to $100, and the charger unit itself anywhere from $400 to $700 for a quality Level 2 model from brands like ChargePoint, Emporia, or Grizzl-E. This puts a competent DIY install in the $700 to $1,300 range all-in.
Professional installation broadens the range considerably. A straightforward install with a short conduit run and an accessible panel typically costs between $800 and $1,500 including labor, materials, permit fees, and the charger. Longer runs, difficult panel access, or the need to trench conduit across a yard can push the total to $2,500 or more. The permit itself usually costs between $50 and $200 depending on your municipality.
The hidden costs are the ones that catch people off guard. A panel upgrade, if your existing service cannot support the new load, runs $1,500 to $3,000 and up. A load management device, which monitors total household draw and reduces charger output to avoid overloading the service, costs $300 to $700 and can be a cost-effective alternative to a full panel replacement. When comparing hardwire to plug-in costs, remember that hardwiring eliminates the $200 to $400 GFCI breaker and the $80 to $150 industrial-grade receptacle, savings that often cover the cost of the conduit and then some.
When to Call a Licensed Electrician
Some situations demand professional expertise, and recognizing them is part of being a responsible homeowner. If your panel is an older model from a manufacturer with a known safety record, Zinsco and Federal Pacific panels are the most notorious, do not attempt to add a circuit. These panels have documented failure modes where breakers do not trip under overload conditions, and many electricians refuse to work on them except to replace them entirely.
Long or complex conduit runs also warrant a professional. If your charger location requires more than 50 feet of conduit, passes through finished walls or ceilings, or crosses between floors, the labor involved in fishing wire and patching drywall often justifies the electrician's labor rate. The same applies if your panel is in a finished basement on the opposite side of the house from the garage.
Permit requirements vary by jurisdiction, but many municipalities require that a licensed electrician pull the permit for a new circuit installation. Even where homeowner permits are allowed, the inspection process can be unforgiving if you are not familiar with local amendments to the NEC. A failed inspection means a re-inspection fee and a delay, and repeated failures can flag your property.
Finally, check your charger's warranty terms. Some manufacturers, including Legrand, explicitly state that professional installation is required to maintain the warranty. If your $600 charger fails and the manufacturer asks for proof of installation by a licensed electrician, you do not want to be caught without it.
Troubleshooting Common Hardwire Installation Issues
A charger that refuses to power on after installation is frustrating but usually has a simple cause. Start by confirming the breaker is fully in the ON position; a tripped breaker sometimes looks on but sits in a middle position. Use a multimeter at the charger terminals to verify 240 volts between L1 and L2. If voltage is present but the charger does not light up, re-check that the wires are fully seated in the terminals and that no insulation is caught under the terminal plate.
Error codes vary by manufacturer, but two patterns are common. Ground fault errors often indicate a loose or improperly connected ground wire. Check the ground connection at both the panel and the charger. Over-temperature errors suggest the charger is not getting adequate ventilation or that a terminal connection is loose and generating excess heat. Tighten all connections to spec and ensure the charger has the clearance specified in the manual.
A breaker that trips immediately when the charger starts usually points to a short circuit. Inspect the wire carefully for nicks in the insulation, particularly where the wire enters the conduit connectors. Even a small cut that exposes the copper conductor can cause a dead short against the metal conduit or connector body. Never replace a tripping 60-amp breaker with a larger one. The breaker is doing its job, and upsizing without recalculating wire gauge creates a serious fire hazard.
If the charger powers on but charges slower than expected, the issue is likely in the settings. Many chargers use internal dip switches or an app to set the maximum current. Verify that the setting matches your circuit: 48 amps on a 60-amp breaker, or 40 amps on a 50-amp breaker. Also confirm that your vehicle can accept the full current. Some EVs have onboard chargers limited to 32 or 40 amps regardless of what the wall unit can deliver.
Future-Proofing: Load Management and Off-Peak Charging
If your panel is near its capacity but a full service upgrade is not in the budget, load management devices offer a practical path forward. These systems monitor your home's total electrical draw in real time and automatically reduce the charger's output when other large appliances kick on. The Emporia Vue and similar power monitors integrate directly with compatible chargers to keep your total load safely below the service limit without any manual intervention.
Off-peak charging rates can dramatically reduce your per-mile fueling cost. Some utilities offer separate meter sockets specifically for EV charging, with rates as low as 6.7 cents per kilowatt-hour during overnight hours compared to 33 cents during peak daytime periods. Installing a separate meter socket alongside your charger adds upfront cost but can pay for itself within a year or two for high-mileage drivers. Check your utility's EV rate programs before finalizing your installation plan.
If a second EV is in your future, consider running conduit for a second circuit now. The incremental cost of pulling extra wire and installing a second conduit run during the initial project is far lower than starting from scratch later. Even if you only install one charger today, having the infrastructure in place makes adding a second unit a simple job.
Frequently Asked Questions
Can I hardwire an EV charger myself? Yes, if you are comfortable working inside an electrical panel and your local jurisdiction allows homeowners to pull permits for electrical work. Many areas restrict new circuit installations to licensed electricians, so verify before you start.
Is hardwiring safer than plugging in? Yes. Hardwiring removes the plug and receptacle as potential failure points. Loose connections at outlets are a documented cause of overheating and fires in high-draw EV charging applications.
What size breaker do I need for a hardwired charger? A 60-amp breaker supports a 48-amp charger, which is the maximum for most home units. Smaller chargers set to 40 amps use a 50-amp breaker. Always match the breaker to the charger's rated maximum and the wire gauge to the breaker.
Can I convert a plug-in charger to hardwire? Some charger models allow you to remove the plug cord and wire the unit directly. Check your manual carefully. If the manufacturer does not explicitly support hardwiring, attempting the conversion may void the warranty and create a safety hazard.
Have a project to talk through?
Free estimates from a licensed Prescott Valley electrician.